As a supplier of Compact Rock Drill Rigs, I often receive inquiries from customers about various aspects of these powerful machines, including how to install drill bits. In this blog, I'll walk you through the step - by - step process of installing drill bits on a compact rock drill rig, providing you with detailed guidance to ensure a smooth and safe installation.
Understanding Compact Rock Drill Rigs
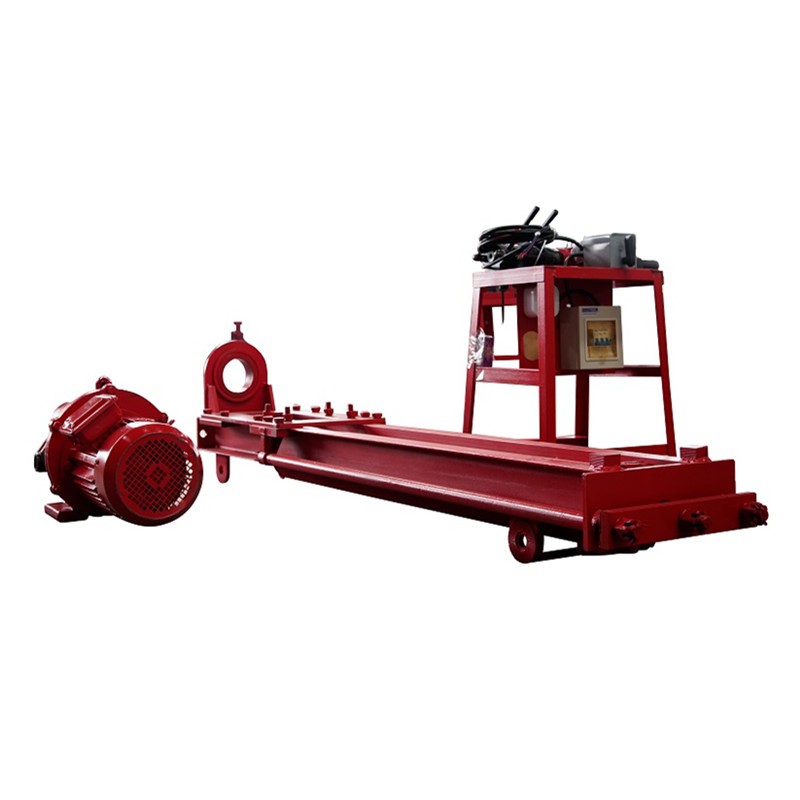
Before delving into the installation process, it's essential to have a basic understanding of Compact Rock Drill Rigs. These rigs are designed for drilling in hard rock environments. They are known for their portability, high efficiency, and reliability, making them a popular choice for various mining, construction, and geotechnical applications. Compact rock drill rigs can be powered by different sources, such as pneumatic, hydraulic, or electric systems. Among them, Pneumatic Drill Rig and Dth Pneumatic Rock Drill are quite common due to their simplicity and effectiveness.
Tools and Materials Needed
To install drill bits on a compact rock drill rig, you'll need the following tools and materials:


- Drill Bits: Select the appropriate drill bits based on the type of rock, drilling depth, and the specific requirements of your project. Different drill bits have different geometries and cutting structures to suit various rock formations.
- Wrenches: A set of wrenches is required to loosen and tighten the drill bit connections. Make sure the wrenches fit the drill bit and the rig's chuck properly.
- Safety Equipment: Always wear safety goggles, gloves, and ear protection when working with a rock drill rig. This helps protect you from flying debris, dust, and noise.
Step - by - Step Installation Process
Step 1: Preparation
- Inspect the Drill Rig: Before starting the installation, thoroughly inspect the compact rock drill rig. Check for any visible damage, loose parts, or leaks. Ensure that the rig is properly lubricated and all moving parts are functioning smoothly.
- Select the Right Drill Bit: As mentioned earlier, choose the drill bit that is suitable for your drilling task. Check the drill bit for any signs of damage, such as worn - out cutting edges or cracks. If the drill bit is damaged, replace it with a new one.
- Power Off the Rig: To avoid any accidental start - up during the installation process, turn off the power supply to the drill rig. If it's a pneumatic rig, shut off the air supply.
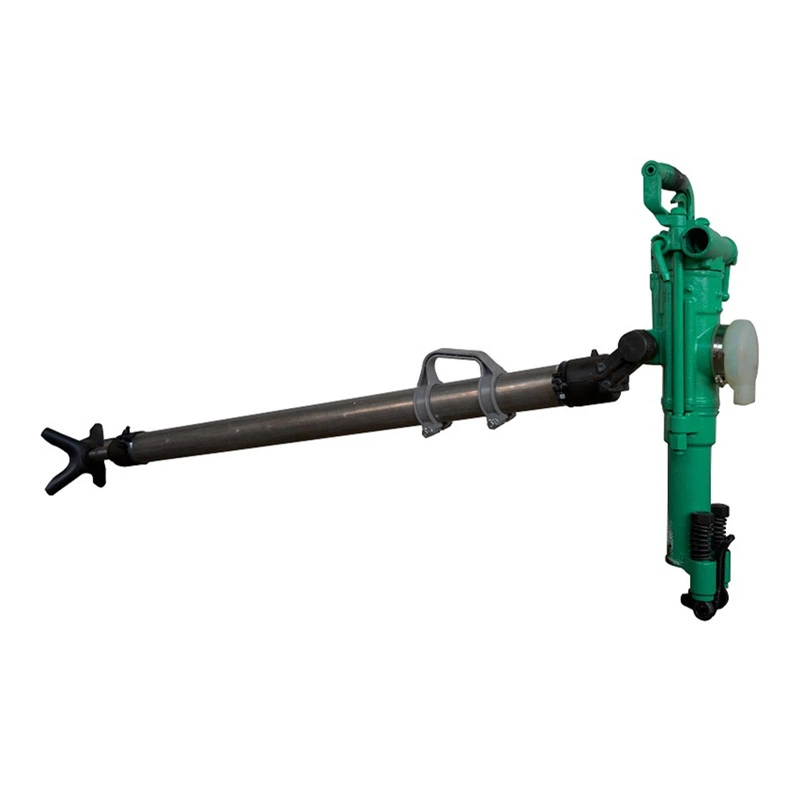
Step 2: Access the Chuck
- Locate the Chuck: The chuck is the part of the drill rig that holds the drill bit. It is usually located at the end of the drill rod. Depending on the design of the rig, you may need to remove a protective cover or guard to access the chuck.
- Clean the Chuck: Use a clean cloth to remove any dirt, dust, or debris from the chuck. This ensures a proper connection between the drill bit and the chuck.
Step 3: Loosen the Chuck
- Use the Wrench: Insert the appropriate wrench into the chuck's wrench flats. Turn the wrench counter - clockwise to loosen the chuck jaws. Open the chuck jaws wide enough to accommodate the drill bit.
Step 4: Insert the Drill Bit
- Align the Drill Bit: Carefully insert the shank of the drill bit into the chuck. Make sure the drill bit is centered and aligned properly with the axis of the drill rod.
- Push the Drill Bit In: Push the drill bit firmly into the chuck until it reaches the bottom. Ensure that the drill bit is fully seated in the chuck.
Step 5: Tighten the Chuck
- Tighten the Chuck Jaws: Use the wrench to turn it clockwise to tighten the chuck jaws around the drill bit. Apply sufficient force to ensure a secure connection, but be careful not to over - tighten, as this may damage the drill bit or the chuck.
- Check the Tightness: After tightening the chuck, try to wiggle the drill bit gently. If it moves, tighten the chuck further until the drill bit is firmly held in place.
Step 6: Re - check and Test
- Inspect the Installation: Double - check the installation to make sure the drill bit is properly installed and there are no loose connections.
- Power On the Rig: If it's a pneumatic rig, turn on the air supply. If it's an electric or hydraulic rig, turn on the power. Run the drill rig at a low speed for a few seconds to test the drill bit's operation. Listen for any unusual noises or vibrations. If everything seems normal, you're ready to start drilling.
Troubleshooting
During the installation process, you may encounter some problems. Here are some common issues and their solutions:
- Drill Bit Won't Fit: If the drill bit doesn't fit into the chuck, check if you have the right size drill bit. Also, make sure the chuck jaws are opened wide enough. If the problem persists, the chuck may be damaged and need to be repaired or replaced.
- Loose Drill Bit: If the drill bit becomes loose during drilling, stop the rig immediately. Tighten the chuck jaws further using the wrench. If the problem keeps occurring, the chuck may be worn out and require replacement.
- Difficulty in Tightening or Loosening the Chuck: If you have trouble using the wrench to tighten or loosen the chuck, check if the wrench is the correct size. You may also need to clean the chuck's wrench flats to improve the grip.
Maintenance Tips
Proper maintenance of the drill bit and the chuck is crucial for the long - term performance of the compact rock drill rig.
- Regular Cleaning: After each use, clean the drill bit and the chuck to remove any rock dust and debris. This helps prevent corrosion and wear.
- Lubrication: Lubricate the chuck and the drill bit connections regularly according to the manufacturer's recommendations. This reduces friction and extends the lifespan of the components.
- Inspection: Periodically inspect the drill bit for wear and damage. Replace the drill bit when it shows signs of excessive wear. Also, check the chuck for any signs of wear or damage, such as loose jaws or worn - out threads.
Conclusion
Installing drill bits on a compact rock drill rig is a relatively straightforward process if you follow the proper steps. By understanding the rig's components, using the right tools, and taking necessary safety precautions, you can ensure a successful installation. At our company, we are committed to providing high - quality Compact Rock Drill Rigs and excellent customer service. If you have any questions about drill bit installation or need to purchase drill bits and rigs, please feel free to contact us for further discussion and procurement. We are here to support you with all your drilling needs.
References
- Manufacturer's Manuals for Compact Rock Drill Rigs
- Industry Standards for Drill Bit Installation and Maintenance