Removing an impact drill bit from a drill is a task that every user of power tools will encounter at some point. Whether you're a professional contractor or a DIY enthusiast, knowing the best way to do this safely and efficiently is crucial. As a supplier of impact drill bits, I've seen firsthand the importance of proper tool maintenance and handling. In this blog post, I'll share some insights on the best methods for removing an impact drill bit from a drill.
Understanding the Basics of Impact Drills and Drill Bits
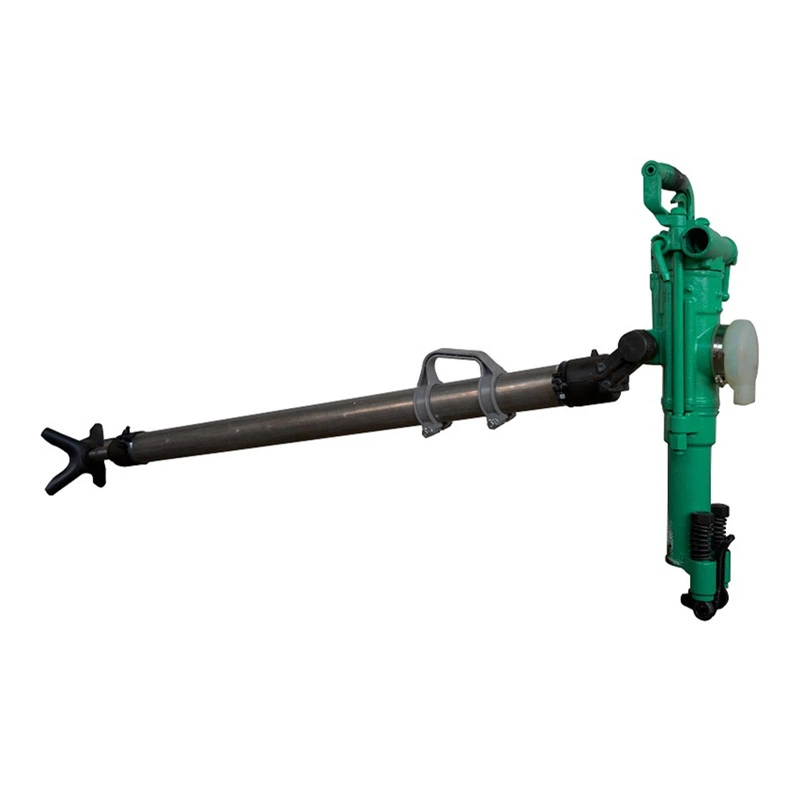
Before we delve into the removal process, it's essential to understand the basic components of an impact drill and how they interact with the drill bit. An impact drill is a power tool that combines rotational force with a hammering action to drive the drill bit into hard materials such as concrete, masonry, and metal. The drill bit is the cutting tool that is inserted into the chuck of the drill. The chuck is a mechanism that holds the drill bit securely in place during operation.
There are two main types of chucks used in impact drills: keyed chucks and keyless chucks. Keyed chucks require a special key to tighten and loosen the jaws that hold the drill bit. Keyless chucks, on the other hand, can be tightened and loosened by hand without the need for a key. Each type of chuck has its own advantages and disadvantages, and the method for removing a drill bit will vary depending on the type of chuck your drill has.
Removing a Drill Bit from a Keyed Chuck
If your impact drill has a keyed chuck, follow these steps to remove the drill bit safely and effectively:
- Power Off the Drill: Before attempting to remove the drill bit, make sure the drill is turned off and unplugged (if it's a corded drill) or the battery is removed (if it's a cordless drill). This will prevent any accidental start - up that could cause injury.
- Locate the Chuck Key: The chuck key is a small, L - shaped tool that is used to tighten and loosen the jaws of the keyed chuck. It is usually stored in a holder on the drill or in a compartment on the tool case.
- Insert the Chuck Key: Insert the chuck key into the holes on the side of the chuck. Make sure the key is fully inserted and engaged with the chuck mechanism.
- Loosen the Chuck: Turn the chuck key counter - clockwise to loosen the jaws of the chuck. As you turn the key, you'll feel the jaws gradually opening. Continue turning the key until the jaws are wide enough to release the drill bit.
- Remove the Drill Bit: Once the jaws are loose, gently pull the drill bit out of the chuck. Be careful not to drop the drill bit, as it can be sharp and cause injury.
Removing a Drill Bit from a Keyless Chuck
If your impact drill has a keyless chuck, the process is a bit different but still relatively straightforward:
- Power Off the Drill: As with a keyed chuck, always turn off the drill and unplug it or remove the battery before attempting to remove the drill bit.
- Hold the Chuck: Grasp the chuck firmly with one hand. Make sure your hand is positioned away from the drill bit to avoid any accidental contact.
- Rotate the Chuck: Rotate the chuck counter - clockwise. Some keyless chucks may require you to apply a bit of pressure while rotating. As you turn the chuck, the jaws will gradually open.
- Remove the Drill Bit: Once the jaws are open enough, pull the drill bit out of the chuck. Again, be careful not to drop the drill bit.
Troubleshooting Common Issues
Sometimes, removing a drill bit can be more challenging than expected. Here are some common issues you may encounter and how to solve them:
- Stuck Drill Bit: If the drill bit is stuck in the chuck, it could be due to debris or rust. Try cleaning the chuck and the drill bit with a brush or a cloth. You can also use a small amount of lubricant to help loosen the bit. If the problem persists, you may need to use a pair of pliers to grip the drill bit firmly and gently twist it while turning the chuck to loosen it.
- Damaged Chuck: A damaged chuck can make it difficult or impossible to remove a drill bit. If you notice that the chuck is not tightening or loosening properly, it may be time to replace the chuck. Consult your drill's user manual or contact the manufacturer for instructions on how to replace the chuck.
Importance of Proper Drill Bit Removal
Properly removing a drill bit is not only important for your safety but also for the longevity of your tools. When you remove a drill bit correctly, you reduce the risk of damaging the chuck or the drill bit itself. A damaged chuck can lead to poor performance and may even cause the drill bit to come loose during operation, which is extremely dangerous.
As an impact drill bit supplier, I recommend that you always follow the manufacturer's instructions for your drill and drill bits. This will ensure that you are using the tools correctly and getting the most out of them.


Our Product Range
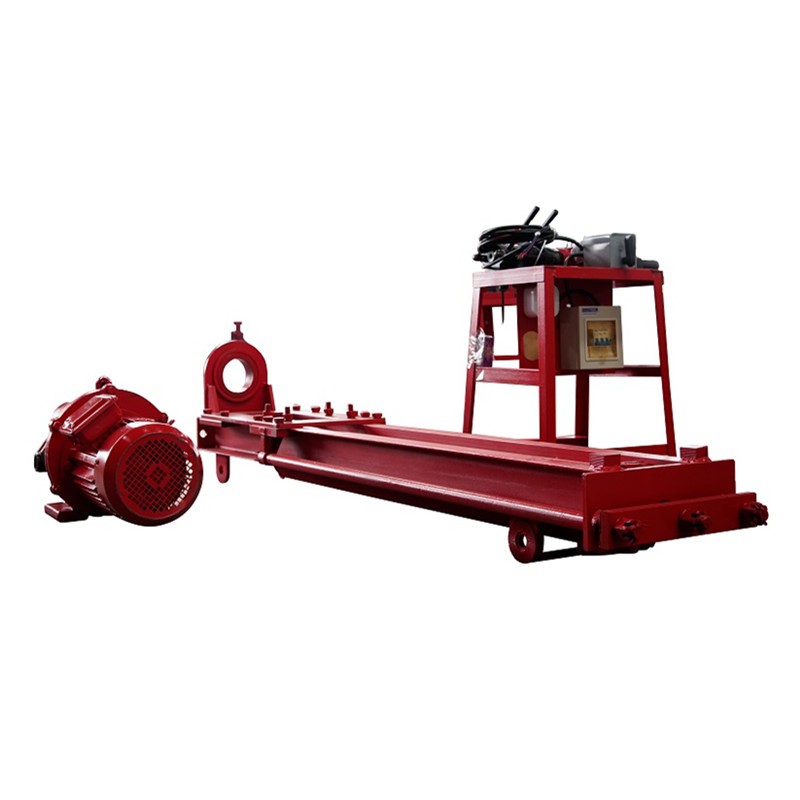
At our company, we offer a wide range of high - quality impact drill bits, including Low Pressure Dth Hammer and DTH Hammer Drill Bits. Our drill bits are designed to provide excellent performance and durability, making them suitable for a variety of applications. Whether you're working on a small DIY project or a large construction job, we have the right drill bit for you.
Conclusion
Removing an impact drill bit from a drill is a simple process when you know the right steps. By following the guidelines outlined in this blog post, you can safely and efficiently remove a drill bit from both keyed and keyless chucks. Remember to always prioritize safety by turning off the drill before attempting to remove the bit.
If you're in the market for high - quality impact drill bits, we invite you to explore our product range. Our team is always ready to assist you with any questions you may have and to help you find the perfect drill bits for your needs. Contact us today to start a procurement discussion and take your drilling projects to the next level.
References
- Manufacturer's manuals for impact drills and drill bits
- Industry best practices for power tool maintenance and operation